
I use a bunch of different forms made of glass, plastic, plaster, wood and bisqued clay that I use as "hump molds". Those are forms I drape soft clay slabs over to make vessels. A few days ago I made a small group of smallish bowls with "flying handkerchief" edges using glass bowls and an oval ice cream dish as my hump molds.
You need to spray glass forms with WD40 lubricating oil before putting clay on them, or the clay will stick. Or you can powder them liberally with corn starch and hope for the best. Well, I made a narrow oval bowl I loved, with an oval foot and those flying handkerchief edges at the rim. But I had not sprayed enough WD40 on the hump mold, so it tore a little when I tried to lift it off. OK, a loss, but one that got me thinking, which is what losses make me do.
I had watched Shoko Teruyama create a hump mold at a Women Working With Clay Symposium a few years ago. She makes a solid form and hollows it out. Not a new idea, but watching the care she takes with hers was inspiring. She will use these many times, in effect living daily with them in the studio. So she makes them as attractive and well formed as she can. There is nothing slapdash about her process- even on infrastructure forms that are not the finished pieces but will be used to MAKE the pieces.
I did the same this week, thinking also of how long I hope to have these as part of my studio infrastructure and how often I hope to use them. I spent about five hours making them with care.
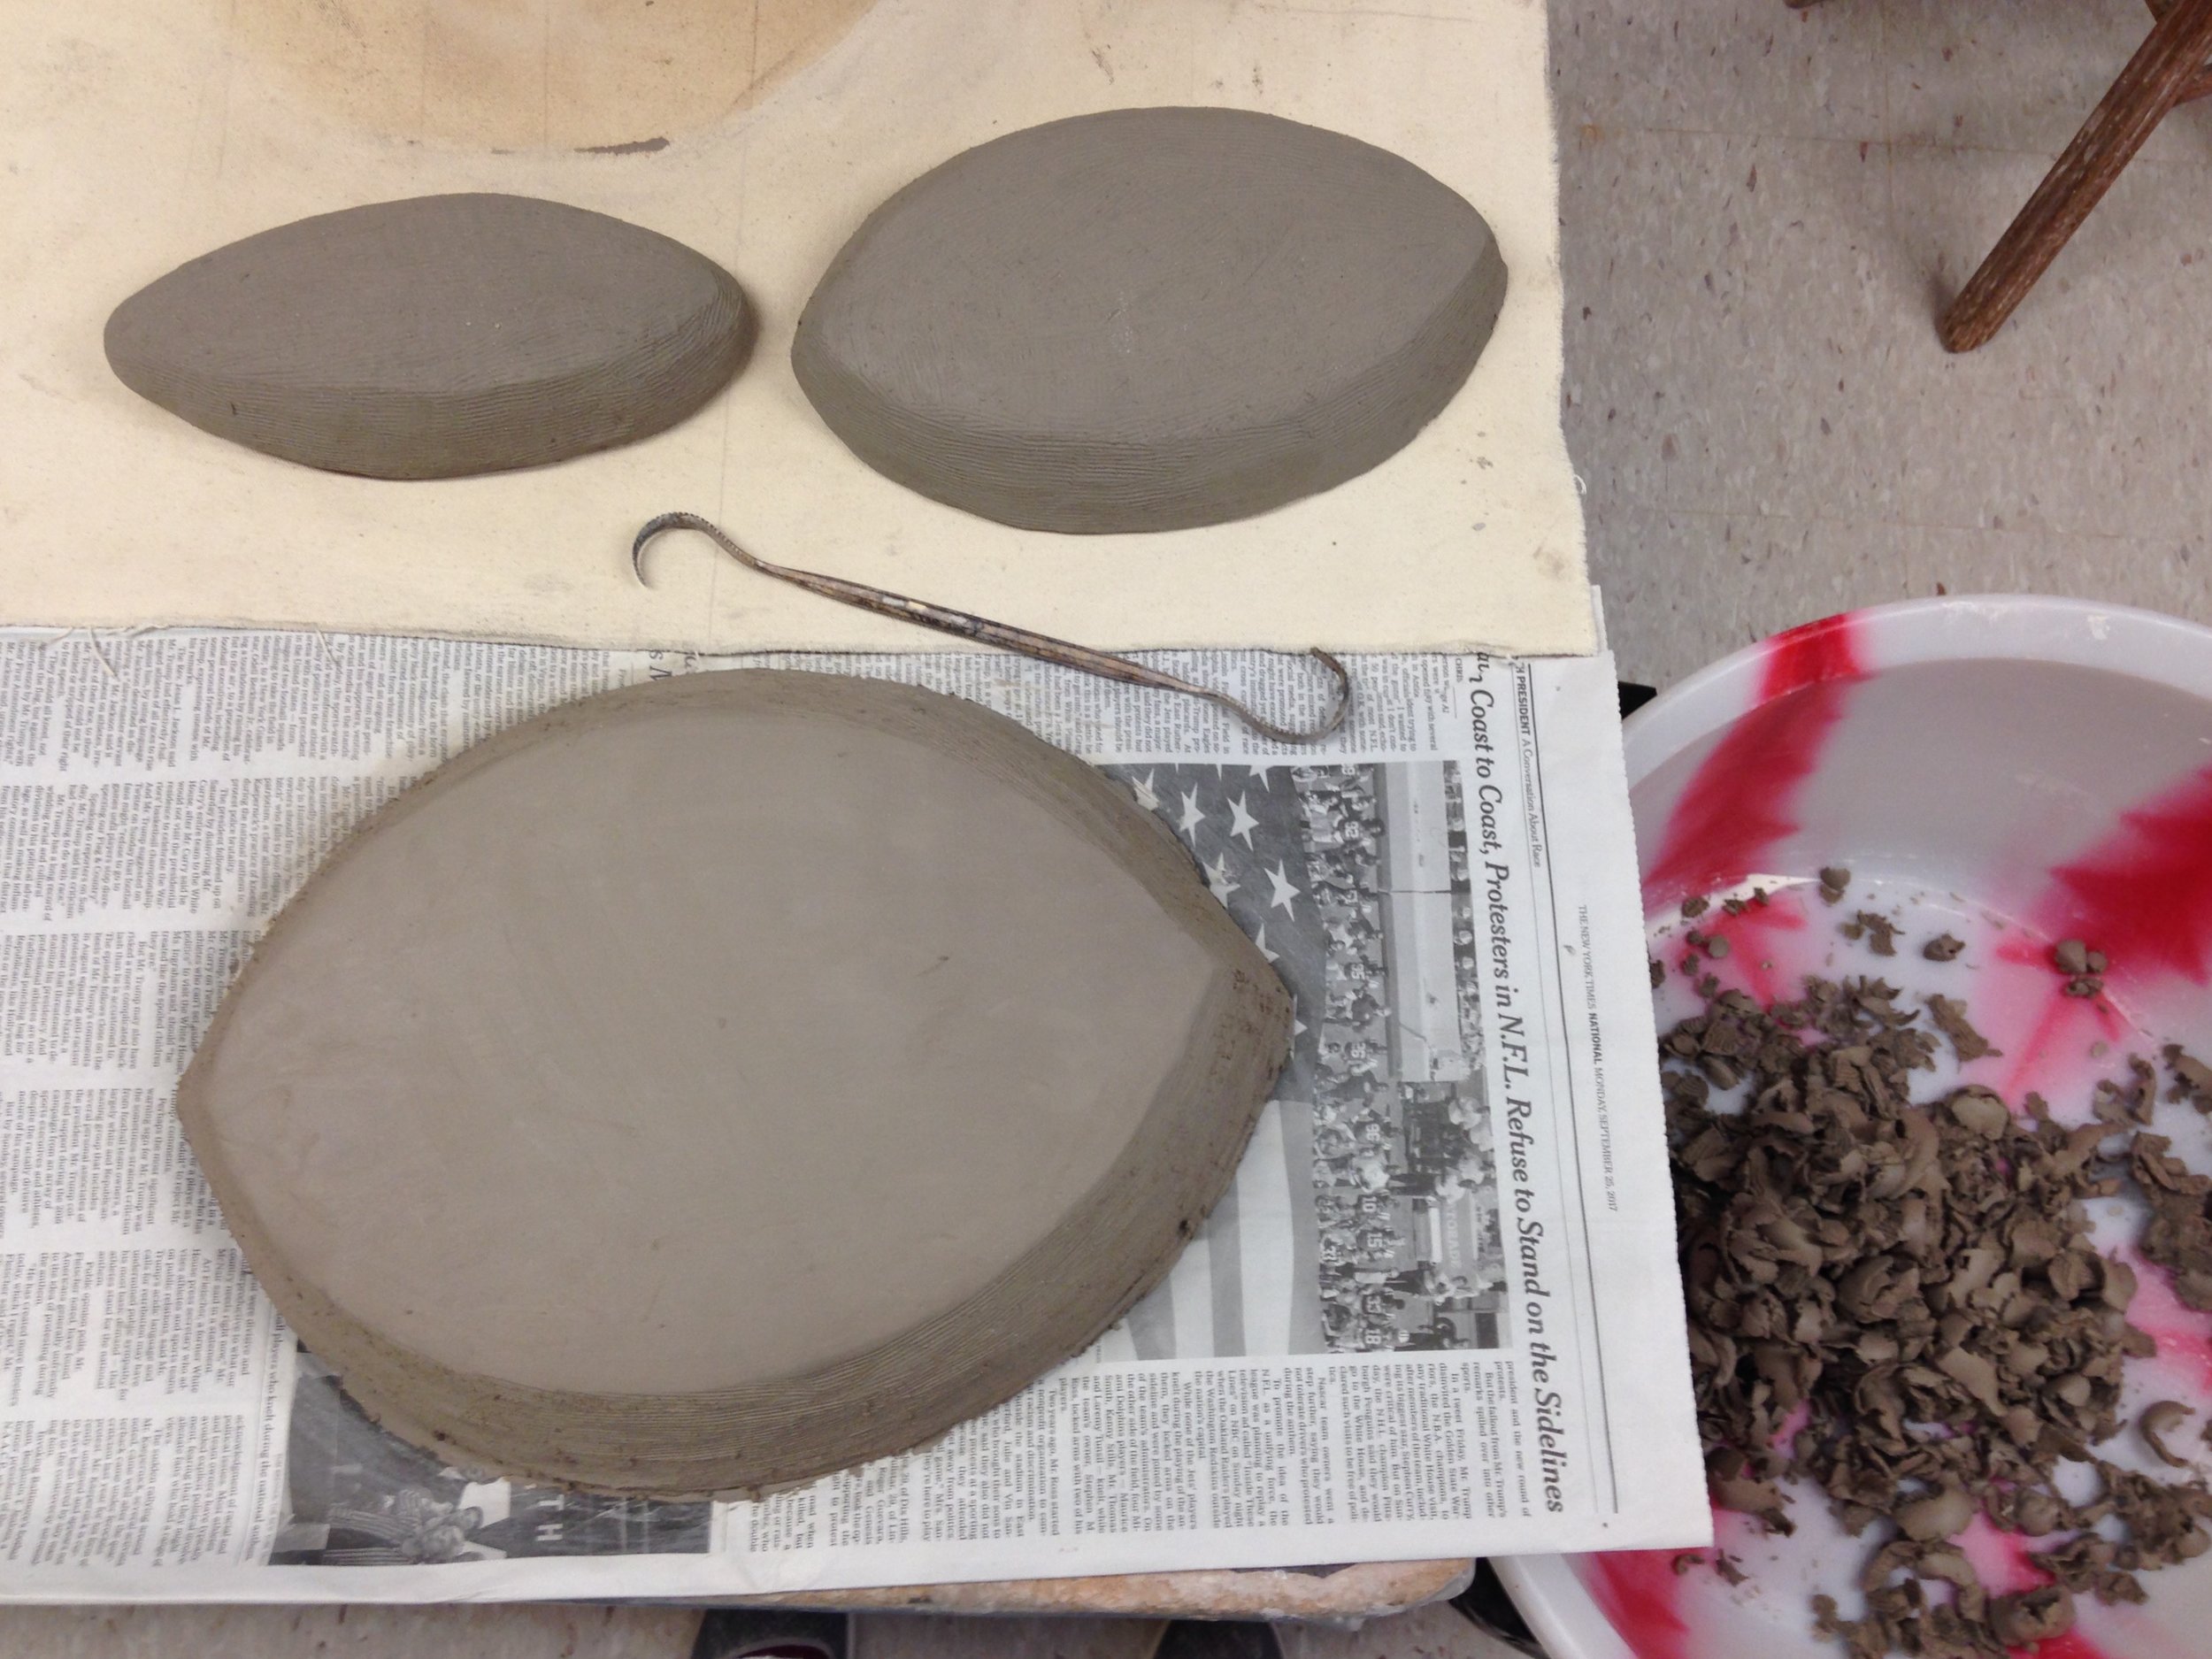
Initial solid humps of clay, basically patted into shape and groomed around the edges.

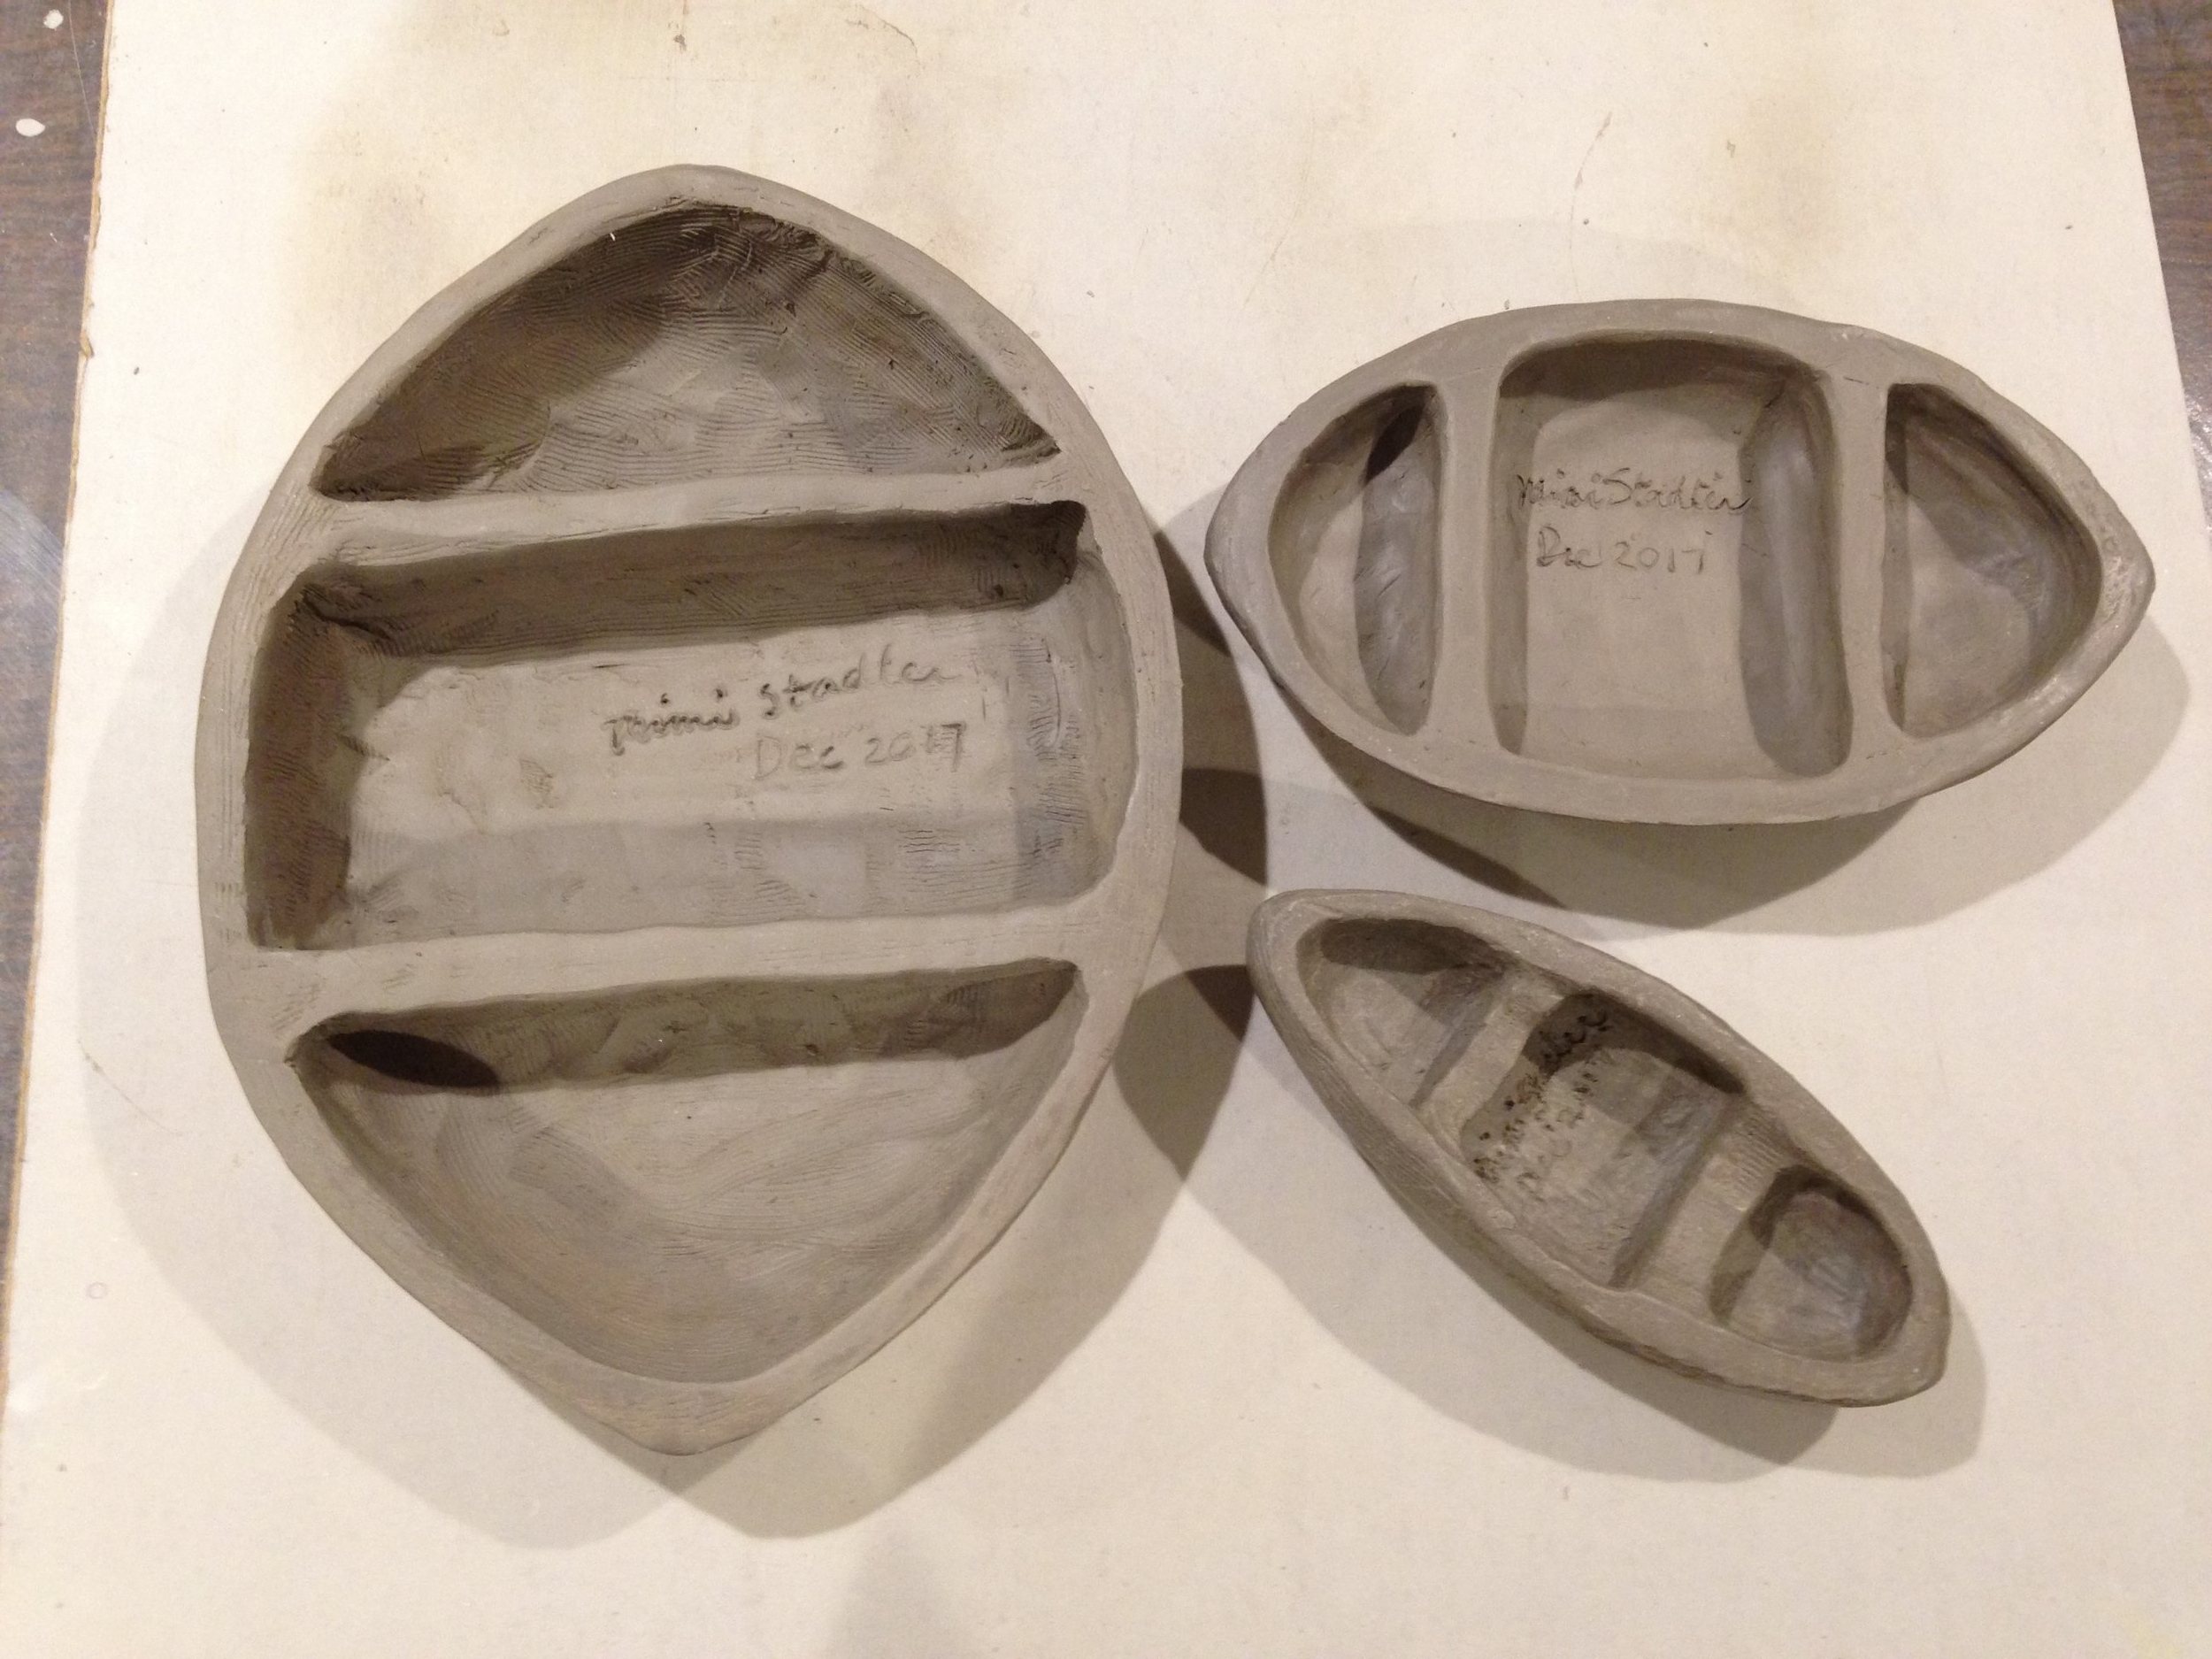
Starting the hollowing process, leaving two ribs across.

Continuing the hollowing out. Ribs are structural support as well as handles.
They look like little rowboats.

This is the underside of 3 finished hump forms.
I first shaped the basic humps the day before, and left them out overnight on a plaster board to reach the state where they would hold their forms when carved. The clay was kind of firm when I carved it, about like a block of cheese. I don't know how Ms. Teruyama feels after making these, but I had a pretty good charley horse in my arm a few hours later. I had removed at least 11 lbs of clay, scrape by curling scrape of the sculpture tool.
When they are turned over, they look pretty much as they did before I began the hollowing out process. But they are light enough to handle while I'll use them as forms to drape clay over. They have to now dry s-l-o-w-l-y, lightly covered with dry-cleaner thin plastic. The walls vary from place to place from 1/4' to 3/8", which could stress these pieces as they dry and shrink unevenly. I don't want them to crack. I'll show you how I use these, after they go through the bisque-fire that makes them permanent.